Student Email Usage Instructions:
All Concordia University students now have email addresses. The following information will be helpful in using these email addresses to communicate with our students effectively:
- The email addresses are all in the format of [email protected]
- The email system is NOT an exchange server, and their accounts are NOT in the global address book on our exchange server
- The students have webmail access only to their emails, it does not currently support other mail clients
- Any and ALL correspondence of an official nature from any Concordia University employee to any Concordia University student should ALWAYS be sent to the student via their Eagles’ email address ONLY. This is designed to prevent FERPA violations, so please adhere to this policy.
- Student email addresses will only be valid while the student is attending the University. 90 days after leaving the University the student’s email address and email box will be deleted.
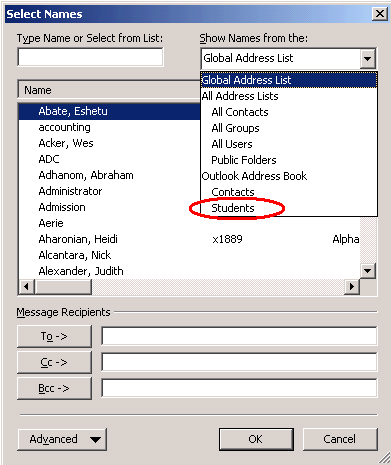
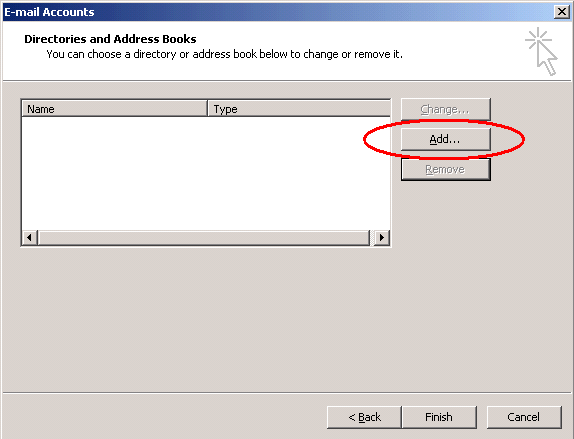
The students have been entered into a read only Contact List that is in the Public Folders on the cui.edu Exchange server. This will allow you to look up and email students directly from Outlook. In order to add the list to your address book, do the following:
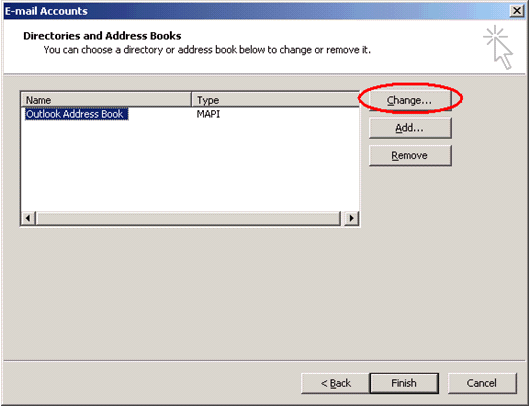
In
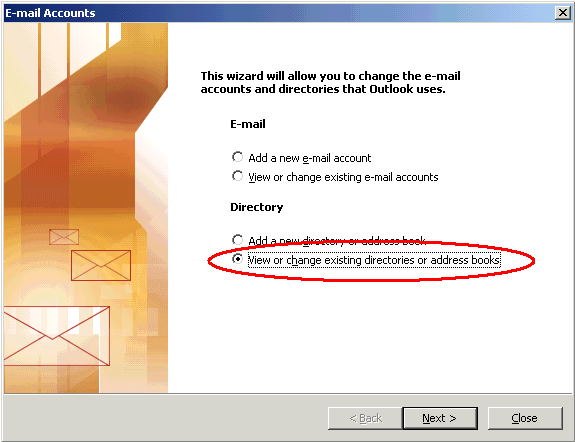
the E-mail Accounts dialogue box select View or change existing
directories or address books.

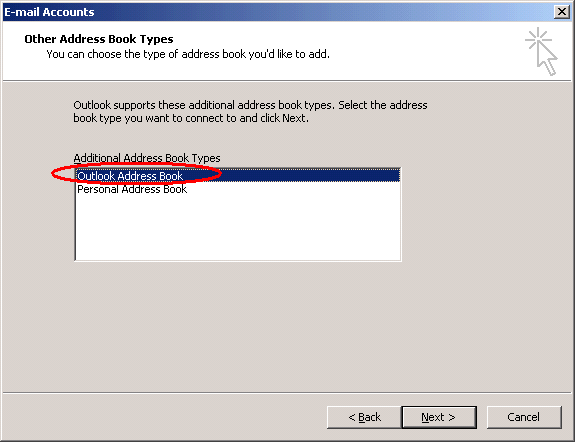

From
the Folder List, expand the Public Folder/All Public Folders Directory
and right-click the Students contact folder

Select
Properties from the bottom of the shortcut menu, and
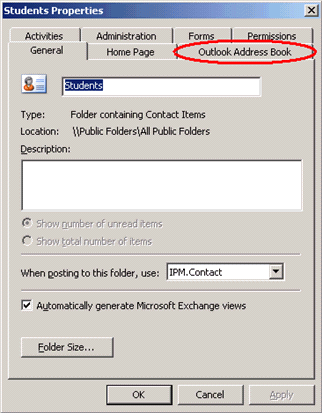
then select the Outlook Address Book tab on the properties
dialogue that opens.
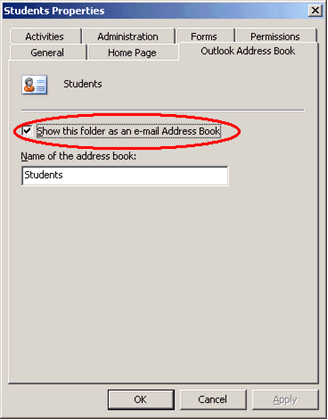
File As (Smith, John) is selected, this will display names alphabetically by last name. Click close, and then finish. Configuration is complete