The directions below are for changing the physical appearance of your document.
Margins
| Page Orientation | Tabs | Header/Footer
& Pagination
Suppressing Header/Footer on First Page
| Remember, most times you make a change you do not like, you can undo that change by pressing Cntr-Z. |
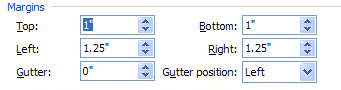
By default, Word creates a new document with the following margins:
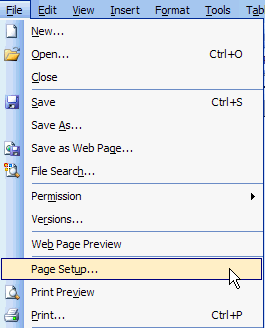
To change the margins on the entire document before you start writing, go to File/Page Setup.
You will see the following menu:
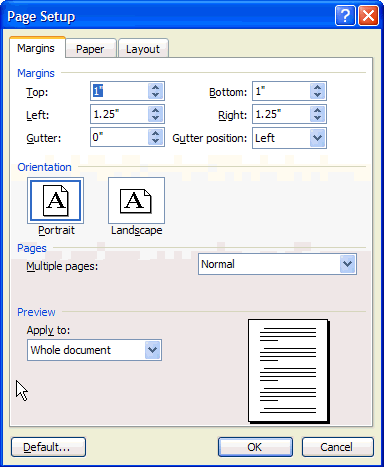
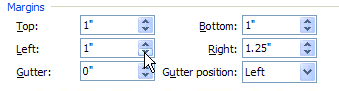
In the Margins area, place the cursor in the margin you want to change. You can either highlight and type in the new number, or use the up/down arrow next to that area to adjust the size by .1 increments.
On the menu, you will see an area for Orientation. Click the style you have selected. Below, you will see Landscape selected.

Word automatically defaults a left tab every .5 inch across the line. You need do nothing to have use of these tabs. The directions below are for adding additional tabs.
If you want to add a tab for a whole document, do it before you start typing anything into the document. If you want to add a tab for a paragraph, you need to highlight the entire paragraph before you proceed with the steps below.
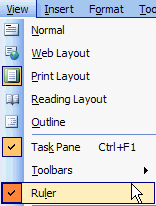
Look for the ruler at the top of the page. If it is not visible, go to View/Ruler. Highlighting it will select it and create a check mark in front of it.
This is the Ruler:
![]()
The little box on the left end (shown here with what looks like an "L" in it) will allow you to select the type of tab you want to add. You have a choice of Left, Right, Center, or Right with Decimal. Make this choice first by clicking on the box to rotate through the choices. Holding your cursor over the symbol will tell you the type of tab it is.
Once selected, move the cursor over one of the hash marks between the numbers on the ruler. Each mark is .1 inch. Click your mouse button to insert. In the example below, a new tab about to be inserted at l.2 inches from the left margin.
![]()
Once you have inserted the tab, it will show on the ruler.
![]()
Please note that any other automatic tabs between the left margin and the new tab will be deleted. In this case, the tab at .5 and at 1.0 have disappeared. If you still need them, you can insert them in the same way you inserted the new tab.
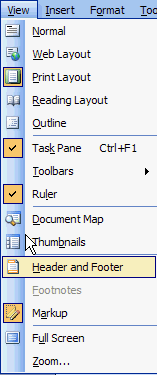
To insert text into a Header or Footer, go to View/Header and Footer.
You will see the following menu appear:
![]()
In addition, you will see an area outlined with dashes at the top labeled Header and one at the bottom labeled Footer. The cursor will automatically default to the Header. Anything you add will be put in the Header. If you want the information in the Footer, move the cursor to the Footer area.
Microsoft has built in some of the most common Header and Footer choices under Insert AutoText.
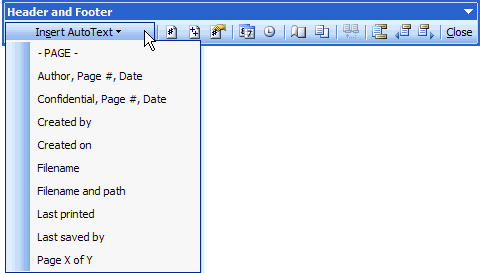
By clicking on the down arrow you will see the choices. Slide the pointer over you choice and click the mouse button to add this information to your Header or Footer.
You can add items individually from the menu bar.

| 1 | Insert the page number |
| 2 | Insert the number of pages total in the document |
| 3 | Format the page number (this will allow you to start with a different page number other than 1, do the page numbering with Roman numerals, etc. |
| 4 | Insert the date |
| 5 | Insert the time |
Select the Page Setup Icon from the Header/Footer menu bar:

This will bring up the Page Setup menu. Click on the Layout tab.
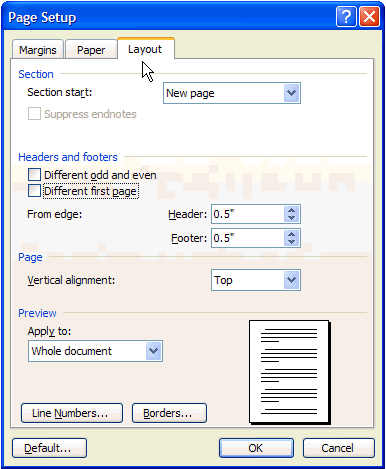
On the Layout menu, you will see a Headers and Footers section. Click the box that says Different first page.
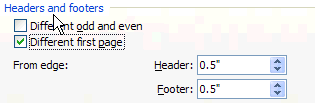
This will create a blank Header and Footer on the first page while still keeping the information in the Header or Footer for page 2 and following.