Word has the capability of presenting text in a variety of styles. For most papers, professors prefer 12 point Times Roman or Times New Roman font. If you need a different font or size, follow the directions below.
Setting
the Basic Document | Changing Font Style or Size in One
Section
Changing Justification | Special Type Features
If you set the font and size before you start typing in a new document, you will have the selected information as the default for that particular document. You won't have to change it paragraph by paragraph as you go.
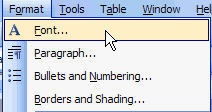
On the menu bar, go to Format / Font.
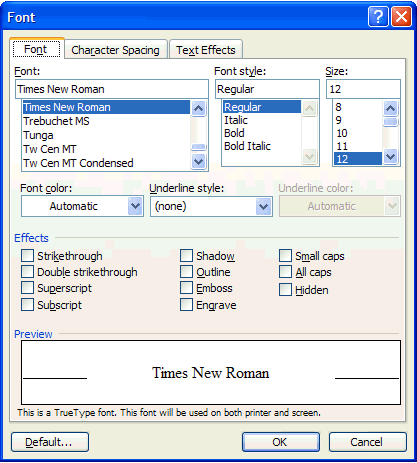
In the Font area, you can scroll through the list of fonts. If you select one, you will see a sample of what it will look like in the Preview pane near the bottom of the window. You can also select the size by using the scroll menu under Size. It will change the size in the preview pane. Once you are satisfied with the selection, click on OK. This will become the default for this paper.
Highlight the text that you want to change using click/drag with your mouse. If you want to change the type in an entire document, go to Edit / Select All on the menu bar (you can also use the keyboard shortcut of Cntr-A).
With the section highlighted, basic changes can be made from the menu bar in Word.
![]()
Use the down arrow to the right of the font name to select a new font. Use the down arrow next to the point size to select a new size. The bigger the number, the larger the font.
To the right of the point size number you will see three letters:
- Click on the B to make the selection BOLD
- Click on the I to make it ITALIC
- Click on the U to underline the section
You can change the justification for a title, one paragraph, or just one part of a document.
Highlight the part you wish to change. On the menu bar you will see four settings for Justification:

1 |
Left Justification - This is the default for most documents. It will leave the right margin ragged. |
2 |
Centered - This will center the highlighted section between the two margins. Make sure that the items are not "hooked" to a tab as this will throw off the centering. |
3 |
Right - This will place the right margin in a straight line, and leave the left margin ragged. |
4 |
Full - This will justify both left and right margins by placing additional space between words. |
You will see this menu:
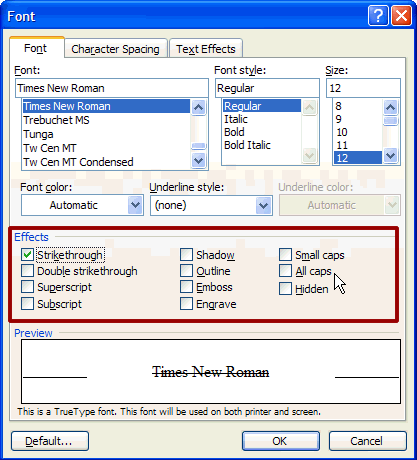
By clicking on one or more of the options in the Effects area (see red boxed area), you will add that feature to the highlighted text. In the Preview window you will see what change to the type will look like in your document. When you are satisfied with the results, click OK.